Summary
Using filters on Sage 200 list views will help you to find and see required information more quickly
How do I do this?
Filters can be applied to all Sage 200 List Views
The example in this article shows how to apply a filter to the Nominal List to show just profit and loss accounts
Select Nominal Ledger >> Nominal List
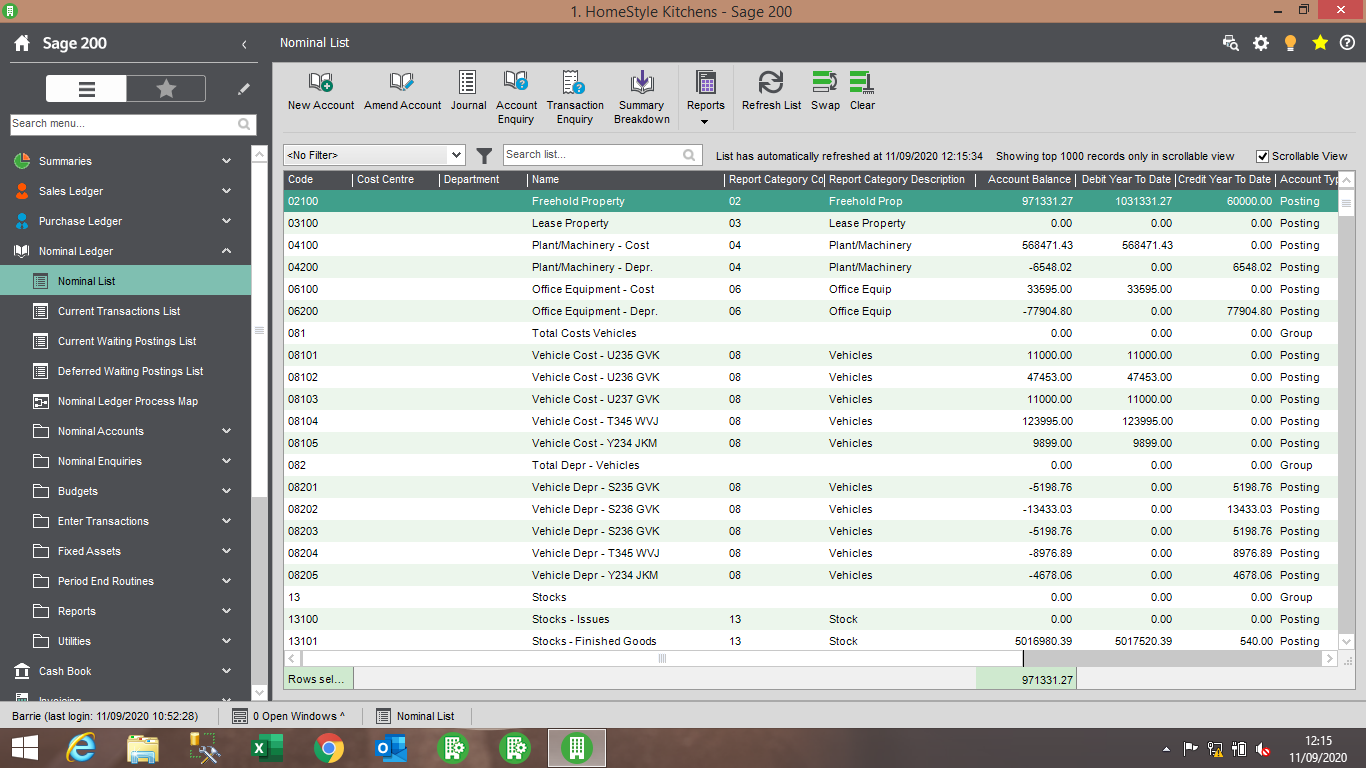
Click on the Filters icon
Click the New button at the bottom to create a new filter
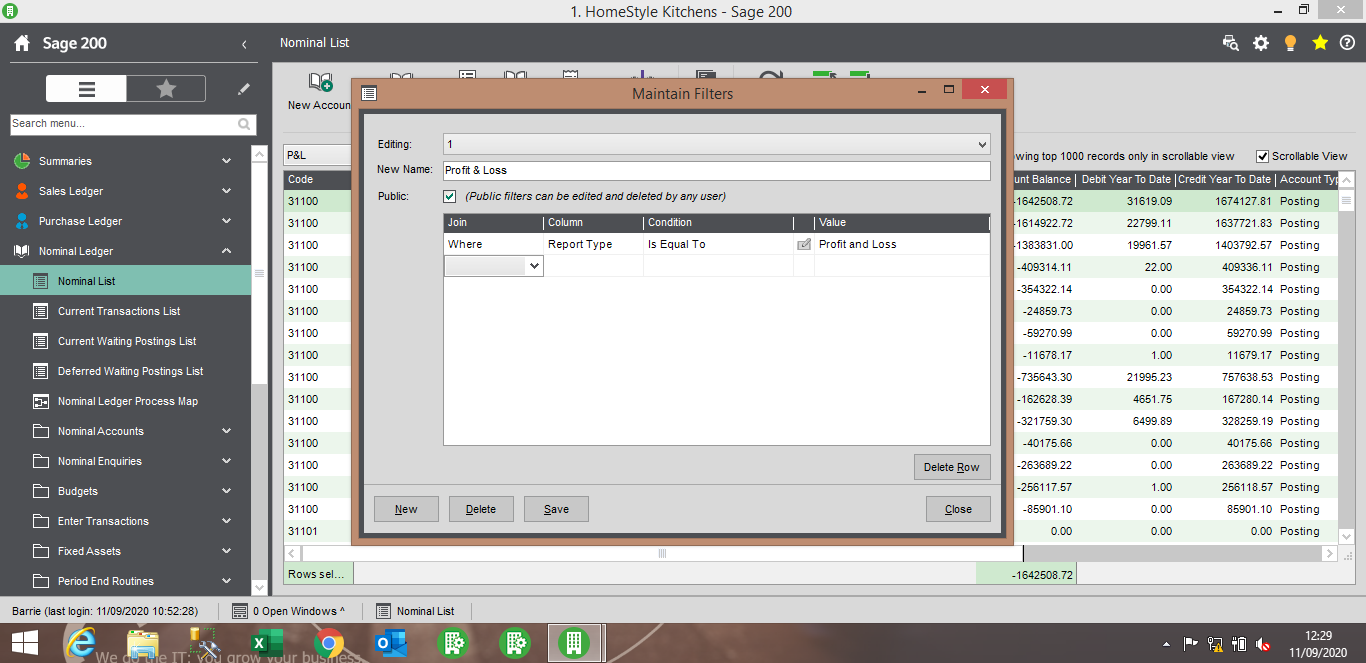
Give your filter a name
Tick to select ‘Public’ if you would like other Sage 200 users to see this filter in their filter list, or leave blank to just have access to this filter yourself
Using the drop-down selection boxes, select the ‘Join’, ‘Column’ and ‘Condition’ as in the above screen-shot; in Value type ‘Profit and Loss’
Click Save, then Close
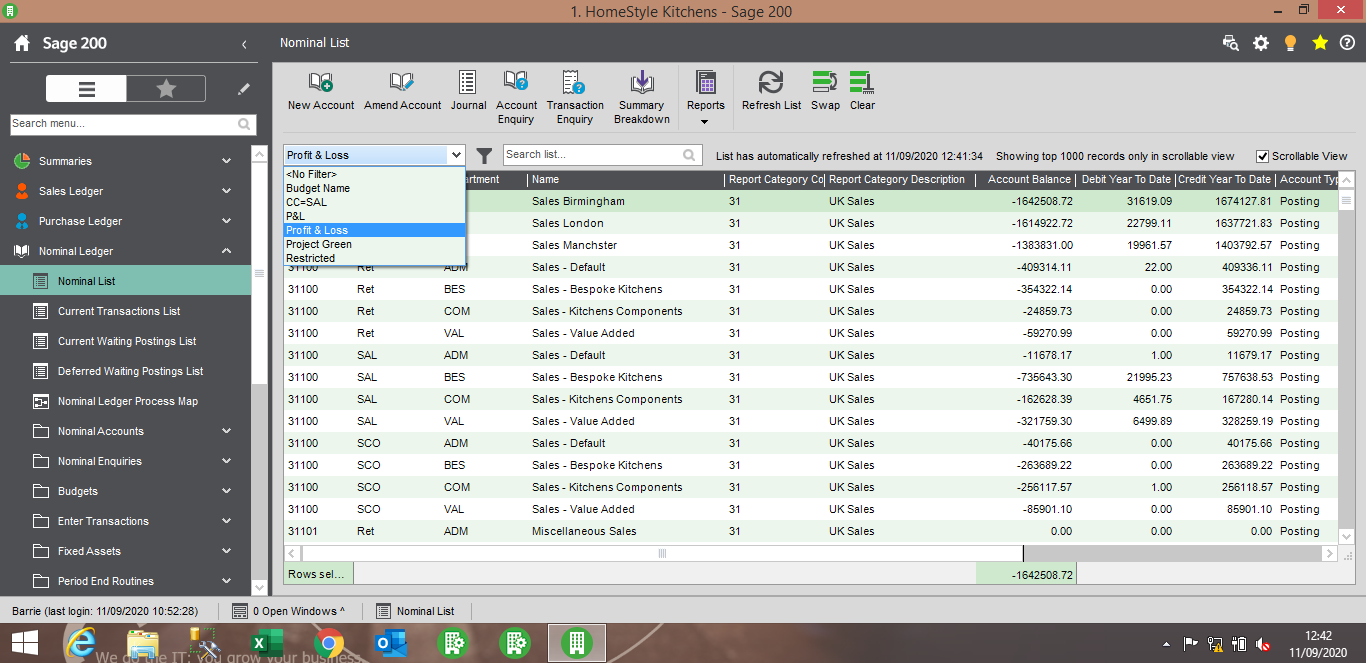
In the filters drop-down selection list, select your filter to apply it to the list
Hints:
~ You can edit a filter by selecting it from the filter drop-down list, then clicking on the filter icon
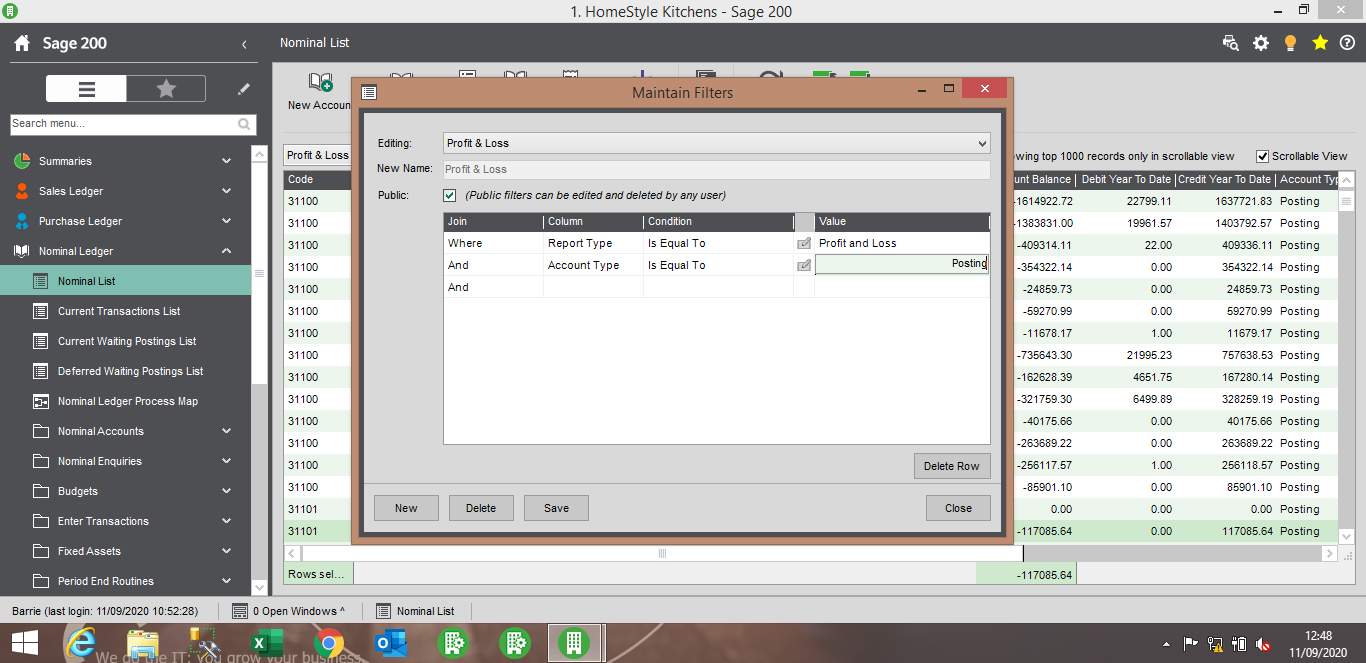
~ You can apply more than one criteria to a filter, for example if you have Group and Memo nominal ledger accounts and want your list to just show ‘normal’ Posting accounts, you could add an additional line to your criteria as shown in the screen-shot below
Further Information
If you have any questions about this or need assistance then please contact the GCC Group Support Team on 0345 260 1151 or servicedesk@gccgroup.co.uk

